
THE GEAR ROOM / TROUBLESHOOTING / WINDOWS 11
Your gaming monitor promised 144Hz, 170Hz or 180Hz. Windows says 60Hz. Before you start reinstalling everything or ordering new hardware, there is a better way to approach it: find out which part of the display connection is setting the limit. In many cases the answer is a Windows setting, an overlooked monitor option or a cable/port combination that cannot carry the mode you selected.
This guide begins with reversible checks and works towards the more involved possibilities. It covers Windows 11 desktop PCs and external monitors; exact menus and supported rates vary by display, GPU and driver.
First, check the refresh rate Windows is actually using
- Right-click the desktop and choose Display settings, or open Settings → System → Display.
- Open Advanced display.
- If you use more than one screen, select the correct monitor before changing anything.
- Read its desktop resolution and refresh rate. Under Choose a refresh rate, select the highest supported setting you actually want to use.
- If the mode works, confirm it on the monitor’s own information menu or refresh-rate indicator, if available.
Microsoft notes that available refresh rates depend on the display and its supported modes. Windows may mark some choices with an asterisk because selecting that rate will also change resolution. Don’t select a lower resolution by accident merely to reach a larger Hz number.
A reading close to the advertised value, such as 143.98Hz instead of 144Hz, can be normal timing/reporting behaviour. The bigger red flag is a monitor capable of substantially more that offers no high-refresh mode at its intended native resolution.
If the higher option is missing, follow this order
1. Check the monitor’s actual input specification
Don’t begin with the graphics driver. Begin with the specific monitor model. Search the manufacturer’s manual for the maximum refresh rate at native resolution over each input. Some monitors support their highest mode only through DisplayPort, or only after enabling an on-screen setting for that port. Others require an optional ‘overclock’ setting for the very top figure.
Use the monitor’s built-in menu (OSD) to verify the active input and look for settings such as DisplayPort mode, HDMI mode, high refresh, overclock or Adaptive-Sync. Names vary by brand. Only enable modes documented for your exact model; an advertised maximum is not a reason to invent an unsupported custom timing.
2. Inspect every part of the signal path
A connection runs from the GPU output through a cable, perhaps through an adapter or dock, to the screen’s input. The whole path must support the chosen mode. If an older cable, adapter or dock cannot transport it, Windows may only offer a lower setting.
- Reseat the connections with the computer and screen safely powered down if needed, then use the monitor’s intended input.
- Where available, try a direct DisplayPort connection from the discrete graphics card to the monitor, without a dock, KVM or conversion adapter.
- If you use HDMI, verify the HDMI capabilities of both devices and try a cable appropriate for the intended mode.
- For a desktop with a dedicated graphics card, check that the monitor is connected to the graphics card’s output rather than an unintended motherboard display output.
- On a laptop, check whether the USB-C port actually supports video output and whether a connected dock shares bandwidth with other screens.
Microsoft’s external-display troubleshooting guidance also recommends trying another known-good cable or port and removing intermediate adapters as an isolation step. An HDMI-to-DisplayPort converter is not necessarily equivalent to a native connection in either direction.
3. Confirm you’re selecting the right resolution
The intended mode for a 1440p monitor is usually 2560 × 1440 at the supported refresh rate. Look for its native resolution in Windows first. A monitor may list several apparently similar display modes with different timing requirements.
For NVIDIA systems, NVIDIA Control Panel → Display → Change resolution provides a second view of the detected monitor, refresh choices and colour output settings. If the list includes separate PC and TV-style resolutions, check the appropriate 2560 × 1440 PC mode. Do not create a custom resolution or force a frequency beyond the manufacturer’s documented limit simply because it isn’t listed.
4. Check the graphics driver, but do it deliberately
Out-of-date or damaged display drivers can disrupt detection and available modes. Identify the actual GPU model in Device Manager → Display adapters, then consult the GPU manufacturer’s official support page or Windows Update. If a problem began immediately after a driver update, Microsoft’s guidance includes a Roll Back Driver option when Windows has the previous version available.
Make one change at a time, restart when appropriate, and check the mode again. Avoid driver-downloader utilities from unknown third-party websites. If the monitor is not detected at all, Microsoft’s external-display checklist is a better starting point than refresh-rate tuning.
5. Temporarily simplify a multiple-screen setup
With two or three monitors, the fastest useful experiment is often connecting only the affected monitor directly to the desired GPU output. If its full refresh rate returns, reconnect other screens one at a time. This can isolate a dock, a shared output, a specific connector or a particular Windows display arrangement.
If you are using a standard video splitter, remember that simply mirroring one output into two cables is not the same as providing two independent full-bandwidth displays. Also check that each screen is selected correctly in Windows before concluding that its refresh rate has changed.
Could HDR, colour depth or variable refresh rate be the reason?
Possibly. A demanding resolution-plus-refresh combination may exceed a connection’s bandwidth once additional colour depth or a different format is requested. To diagnose that, check whether the high-refresh option appears with HDR turned off temporarily, then restore the settings you need and consult the monitor’s specifications for supported combinations. Don’t treat disabling HDR permanently as a universal fix.
Variable refresh rate (VRR) and Dynamic Refresh Rate (DRR) are not the same thing. VRR allows compatible games and displays to match refresh timing to frame delivery. DRR is a Windows 11 feature that can switch between refresh rates to save power. Microsoft warns DRR may limit the maximum refresh of some games; if you suspect that behaviour and your hardware supports DRR, try turning DRR off in Advanced display as a test. There is no need to disable gaming VRR by default.
If the monitor intermittently disappears or turns black
A missing high-refresh option is one problem; an unstable or blank screen is another. Check the cable seating, power and monitor input. When a display suddenly stops working in Windows, Microsoft’s published shortcut Windows + Ctrl + Shift + B can reset the graphics driver and may bring the display back. Use it as a diagnostic, not a fix for an ongoing underlying hardware or software fault.
If the issue persists, test the monitor with a different source or test another screen on the same GPU port. Keep notes on which exact combinations work. This is more informative than repeatedly reinstalling the same driver without changing the experiment.
The five details worth collecting before asking for help
- Exact monitor model, including its revision if shown, and the resolution/Hz printed in its manual.
- Graphics card or laptop model and the output connector you’re using.
- Connection path: DisplayPort/HDMI/USB-C, cable, dock, splitter or adapter.
- Windows Advanced display result: detected monitor name, resolution, current Hz and available alternatives.
- What changed: new driver, Windows update, monitor, cable, docking station or additional screen.
What if you’ve tried everything and 60Hz is still the maximum?
Stop and compare the source and display mode tables side by side. If one port genuinely cannot handle the desired mode, software won’t change its physical limits. If both endpoints officially support the same resolution and refresh, try a known-good direct connection and a verified cable, and then consider manufacturer support with the precise model numbers and your troubleshooting notes.
Our HDMI versus DisplayPort guide explains why cable capability can matter. The Gear Room also has a 1440p monitor buying guide, three-monitor setup advice and long-term reviews of our 32-inch and 27-inch KOORUI displays.
Bottom line: start with Windows, check the monitor manual and on-screen menu, then isolate the cable and input path. Only move into driver work after the simpler tests have told you something useful.
Primary sources and editorial disclosure
- Microsoft Support: changing monitor refresh rates and DRR.
- Microsoft Support: troubleshooting external monitor connections.
- Microsoft Support: multiple display setup.
- NVIDIA Control Panel help: resolution, refresh and output settings.
- HDMI Licensing Administrator: cable classes and capacity.
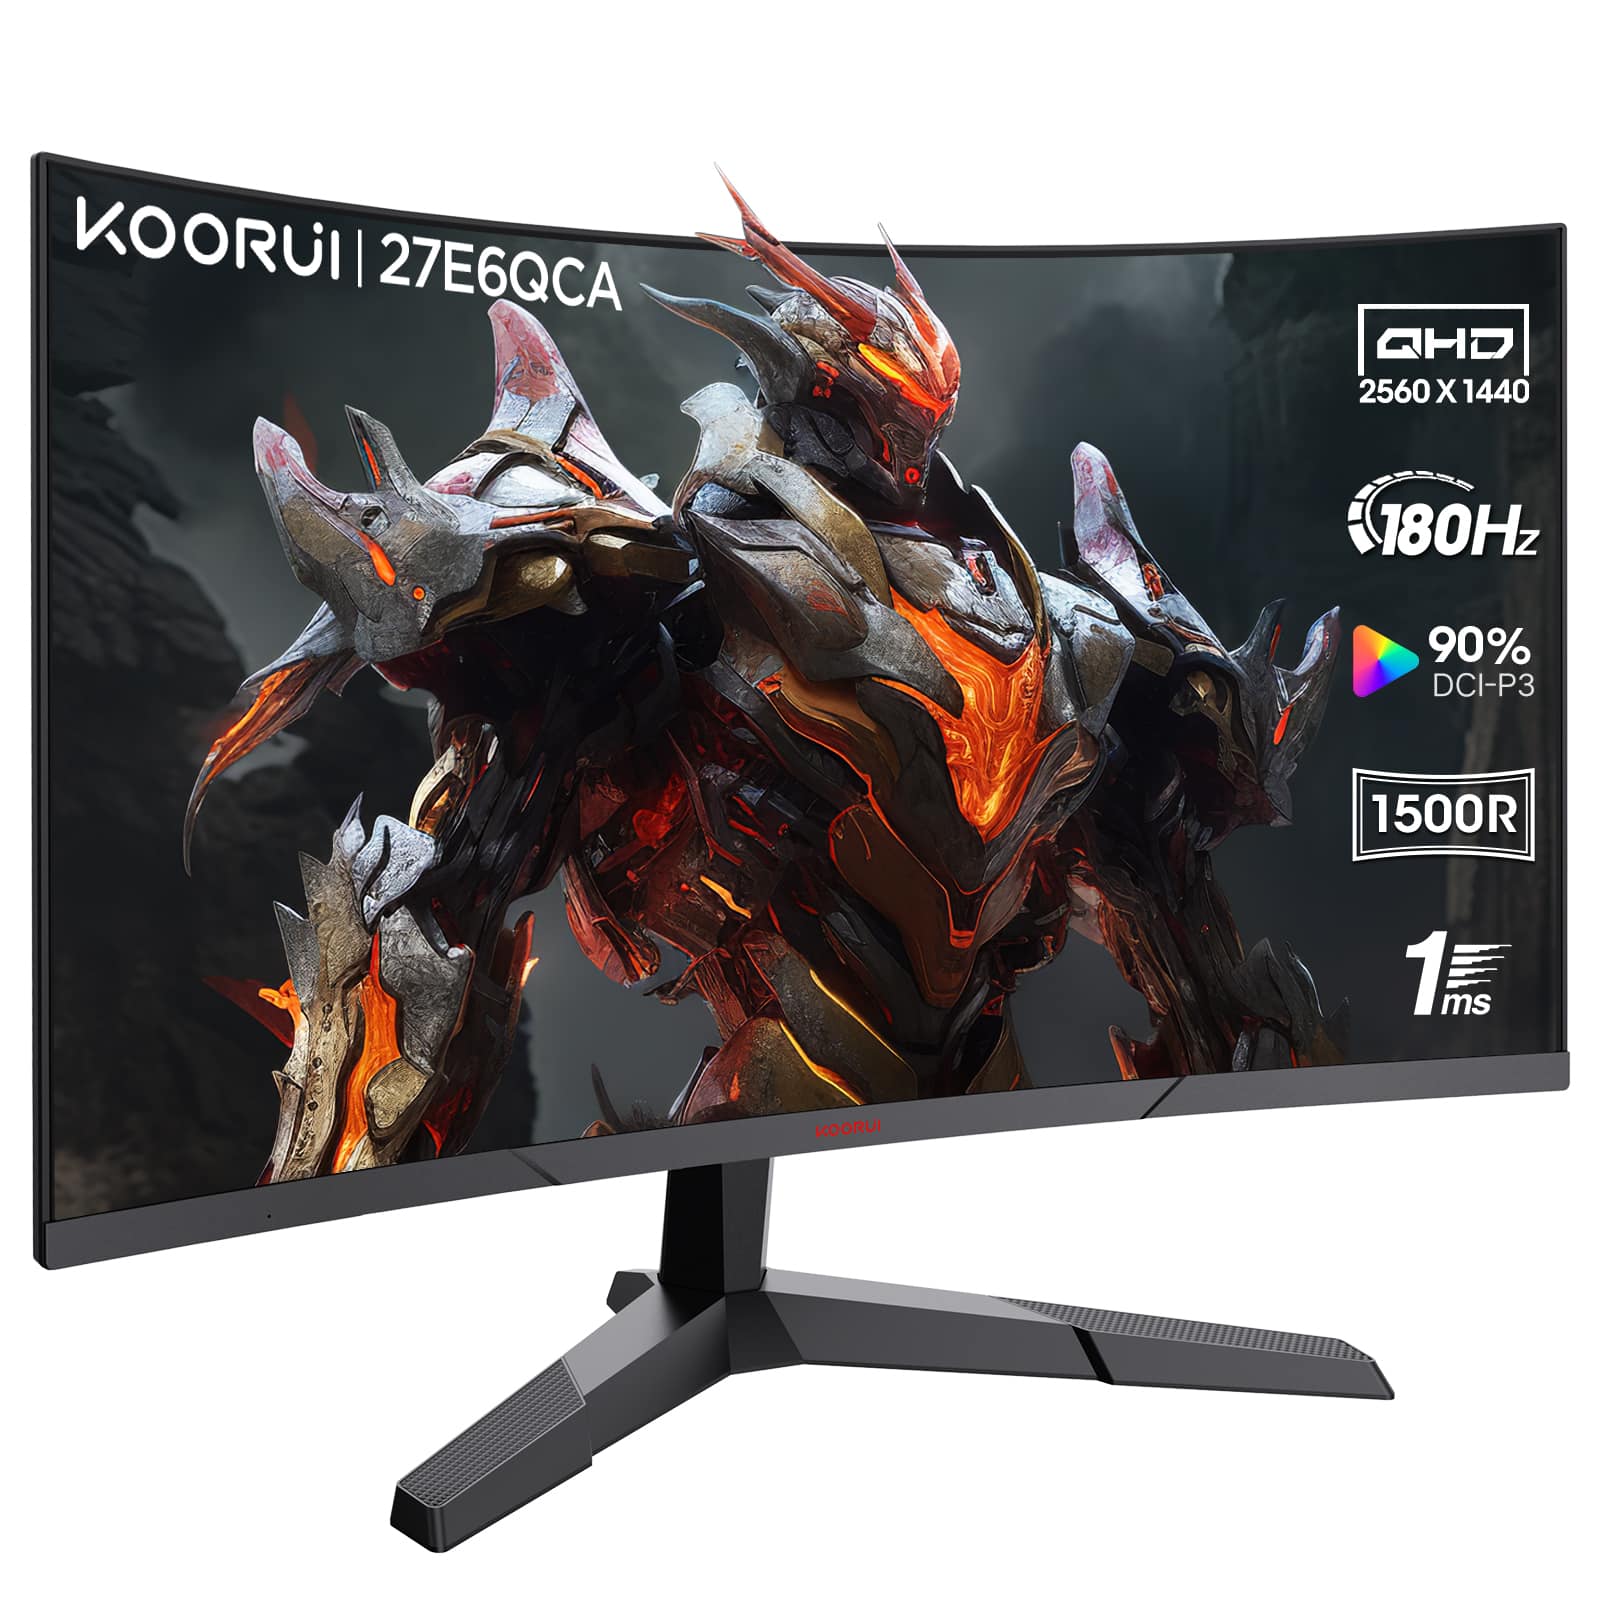
Reporting and disclosure: This is a researched troubleshooting guide based on Microsoft, NVIDIA and HDMI primary documentation, checked 18 October 2026. It does not claim hands-on validation of every GPU, monitor or adapter combination, and no test results have been invented. Featured image is an official KOORUI product photograph used as a monitor illustration.